Showing posts with label panorama. Show all posts

Friday, February 3, 2012

Tip #80: It's a Small World

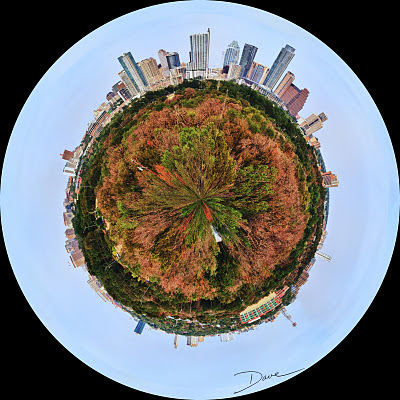
On Saturday, I posted the following image -- a panorama on a sphere:


Yesterday, someone asked me how I did it. So, here goes.

  1. I shot a nine-frame panorama, overlapping each frame by about 20%. Any camera will work, but in this case I used one of my DSLR's. I took the images handheld, but a tripod might have been better. A full circle panorama might have been better for the spherical projection, but it is not a requirement.


  2. I stitched the 9 frames together with Microsoft ICE (Tip #34) and saved the new image.


  3. I loaded the panorama into GIMP. Photoshop would also have worked.


  4. I re-scaled the image proportions to a square (5000 pixels x 5000 pixels) with Image->Scale Image.


  5. I transformed the image with Filter->Distorts->Polar Coordinates


  6. I cleaned up my planet with a healing brush.


  7. I left the corners untouched for a dramatic round presentation on my black backgrounded blog.

  8. I saved the new image, naming it "Austeroid."

Text not enough? Here's a Youtube video that shows the Photoshop version of the transformation.


[Back to the Main Site]

Monday, December 19, 2011

Tip #34: Panoramas

Before I learned the secret, I was intimidated by panoramas. I knew how to take a series of photos of a grand vista, and I knew that I had to stitch them together. I just knew the process was going to be tedius, and I expected the results to be only so-so. As a result I avoided the whole process, altogether.


While visiting a friend's home, I was amazed at the mountain scenery that graced the walls of his home. The panoramic photos were stunning. I knew I had to discover the techique, and I persuaded my host to give a quick class at a photo lunch-and-learn session that I was hosting at my office. My co-workers agreed that panos would be a good topic.

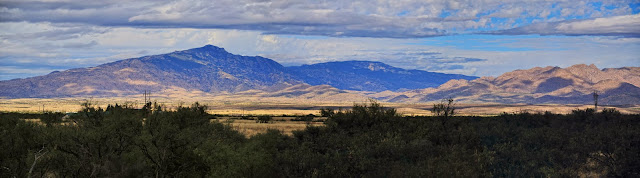
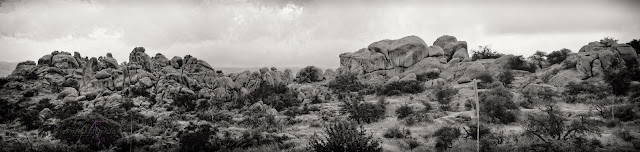
Randy began his class by showing us a panorama of the duck pond near our office. He took the photos the day before and stitched them together, just before the class began. Here's his secret: take photos left to right (right to left -- it really dones not matter) and overlap the frames by about 20%. The software can make use of overlapping rows of photos, too. Hand-held works OK, but using a tripod will yield the best results. Download the photos to your computer and stitch them together with Microsoft ICE. The software does the hard work and the results are amazing. The software even blends slightly mismatched exposures.

Another tip for panoramas that I learned from multiple sources is to take a frame with a single finger held up in front of the lens. This marks the begining of a pano series. At the end of the series take one more frame, holding up two fingers. Your usable images are between the finger markers!


[Back to the Main Site]