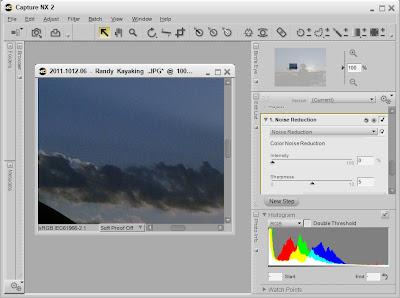
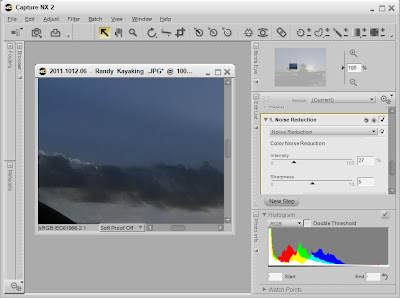
A friend recently asked me, if post-processing would help an image he had captured. Without even looking at the photo, I said yes. The first step in my editing workflow is noise reduction. Here's how I reduced the noise in my friend's photo:
- I loaded the image into Capture NX2.
- I zoomed to 100% and scrolled to a portion of the sky. The 100% zoom is critical for noise adjustments. The sky is where noise most often shows its ugly self.
- I chose the noise reduction tool, and I clicked on "Better Quality" and "Edge Noise Reduction"
- In this case, I moved the slider to 27%, the point at which the noise melted away.
Before Noise Reduction (click the image for a closer look):

After Noise Reduction (click the image for a closer look):

I will be revisiting this image with a future tip, so stay tuned.
[Back to the Main Site]