We all wear them. They hide what we don't want seen. The same applies to photo composites -- images made up of more than one picture. Masks can be complex or simple. They can range from merging gradients or just shapes that block-off a portion of a picture. In a
recent posting, I created a triptych, using three photos, a layer for each, a mask for each layer, and a background layer. My layers were named background, top, left, and right, so I could keep track of where the photos should be placed. Why all the trouble? Well, with the different layers and their masks, I can drop photos onto the different layers without disturbing the other parts of the image. It is like stacking the different images (layers) with restricted views (masks) of the different layers.
Here are the steps.
- Create basic layout.
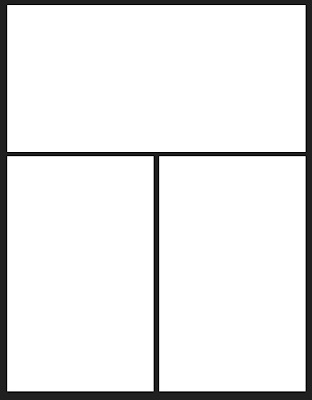
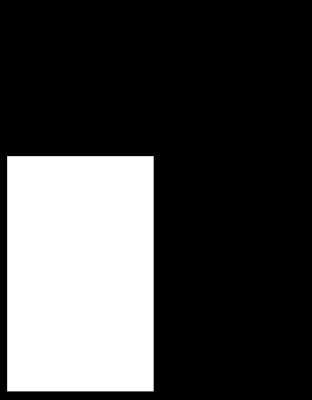
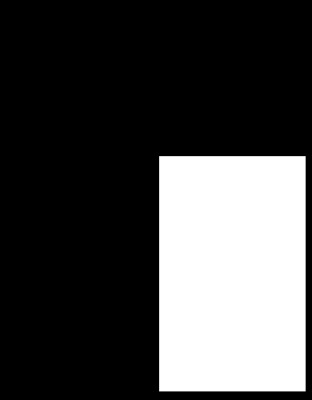
- Create mask for each portion of the image, top, left, and right.

- Save the layers for use as a template, which can be rotated, enlarged, or used, as is, for future composites. This is usually the native file type, used by your editor; jpeg files do not save the layers, just the merged result.
- Add each image to its own layer.
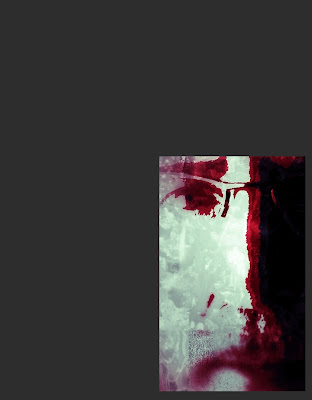
- Add or change the background color with the flood fill tool.
- Save the final image, merging all the layers.
Note: This example was done with Paint Shop Pro, but the steps apply to whichever layers-capable editor that you might be using.[Back to the Main Site]


